
Follow the video step-by-step
Open the space
When the space is created, you can open it.- On the Sidebar, go to Workspaces & Spaces
 .
. - Open your space.
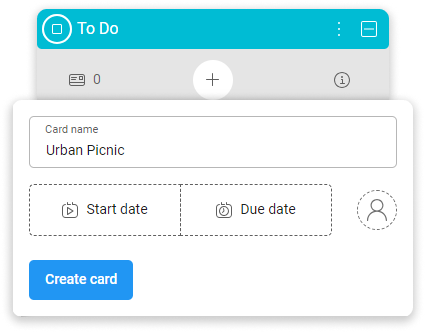
Create a card
Decide where to create your card.- Select the plus button within the chosen grouping.
- Enter the name of the card.
- Select Create card.
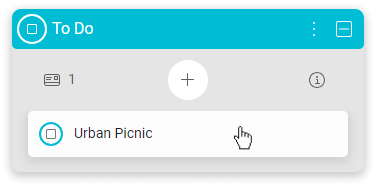
Open the card
To access the card:- Open the card by clicking on it.
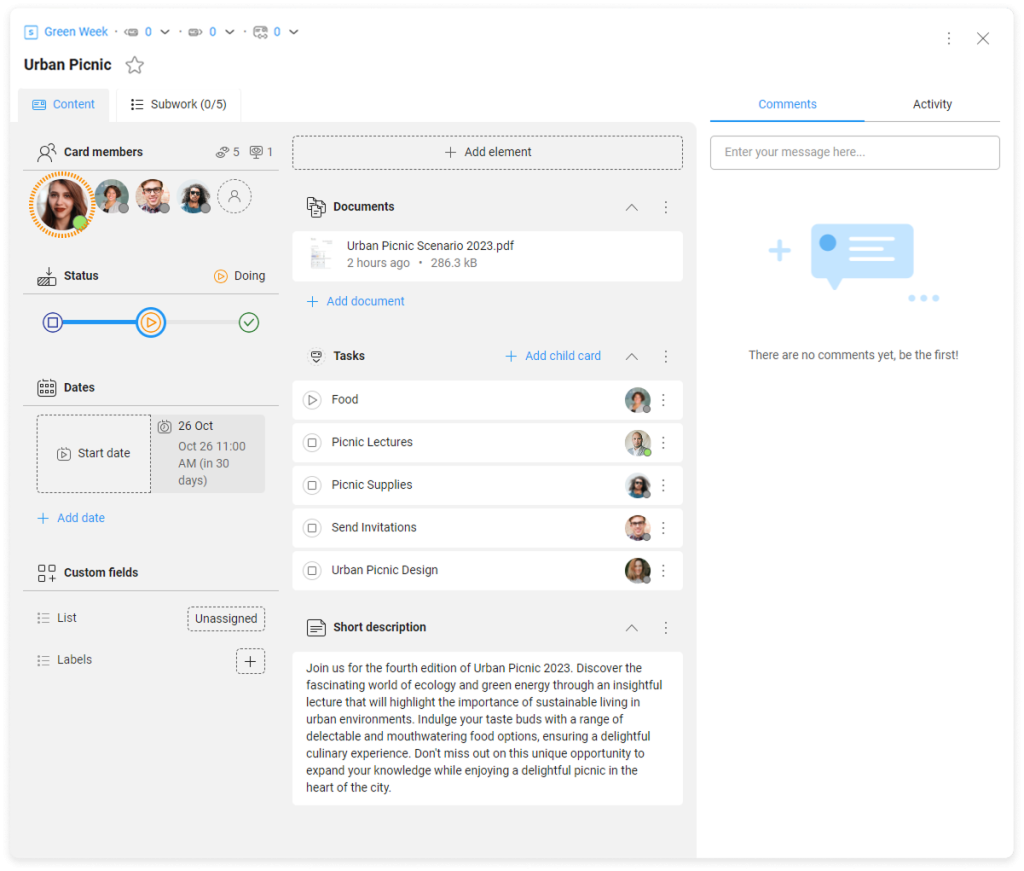
Add a note
To add a note:- On the card, go to + Add element, and then select Note.
- Enter the name, write a note, and then select Add.
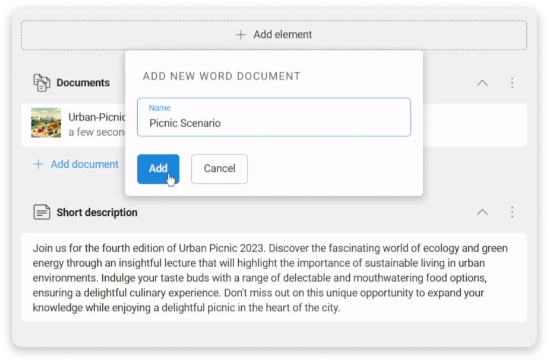
Add a document
To attach a document to a card:- Drag the file to the card.
- On the card, go to + Add element, then select Document.
- Add a new document by choosing the type of file you need Word, Excel, or PowerPoint.
- Enter the name of the document, and then select Add.
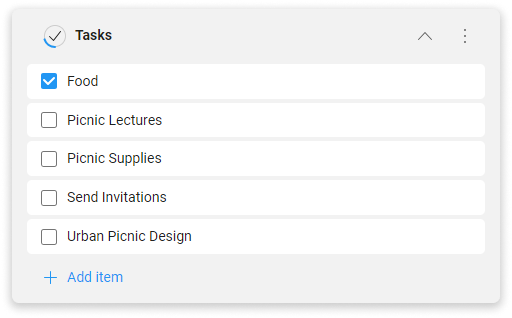
Add a to-do list
To add a to-do list:- On the card, go to + Add element, then select To-do list.
- Enter the to-do list name, and then select Add.
- Select + Add item, enter its name, and then select Add.
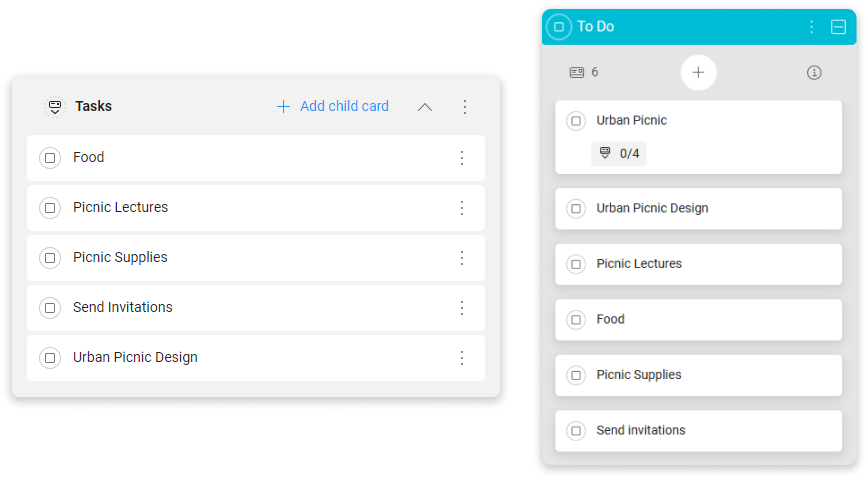
Convert the to-do list in the subcards group
Create subcards from to-do list items:- On the to-do list, go to More (the three-dot menu), select Convert to subcard group, and then confirm your action.
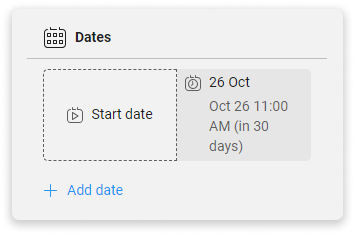
Set the due date
To set a due date:- On the card details section, go to Due date.
- Choose a date from the calendar, and then select Save.
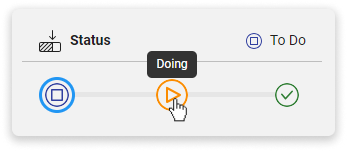
Change the card status
To change the card status:- On the card details section, choose the new status for the card.
- In the space view, move the card to the appropriate status grouping.
Assign users to cards
To assign users to cards:- In the space view, open the Users section.
- Drag the user icon and move it to the card.
- On the card details section, go to the user placeholder and then choose a user.
Follow the video step-by-step
Open the space
When the space is created, you can open it.
- On the Sidebar, go to Workspaces & Spaces .
- Open your space.