
")

Follow the video step-by-step
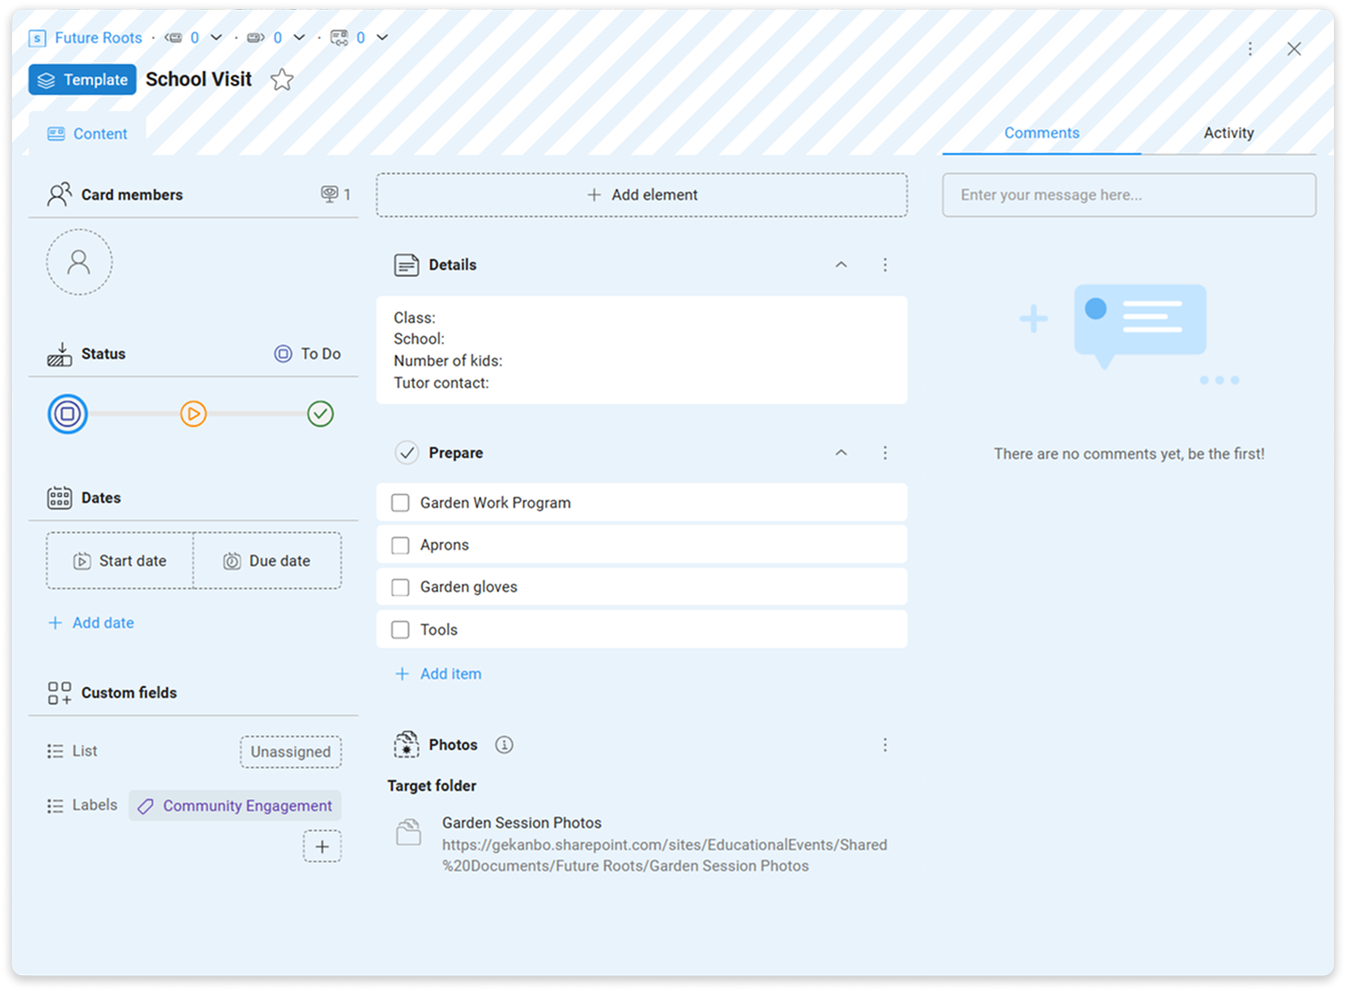
Creating a document based on a document template
To create a document based on a document template:
- On the Sidebar, select the Workspaces & Spaces
 icon, and navigate to your space.
 - Enter the card, where you want to create document.
- Select + Add element > Document > Add new document from template.
- Select the template file.
- Enter the name for your document, and then select Add.
Document will appear on card. Now you can open it for editing.
Configuring document templates
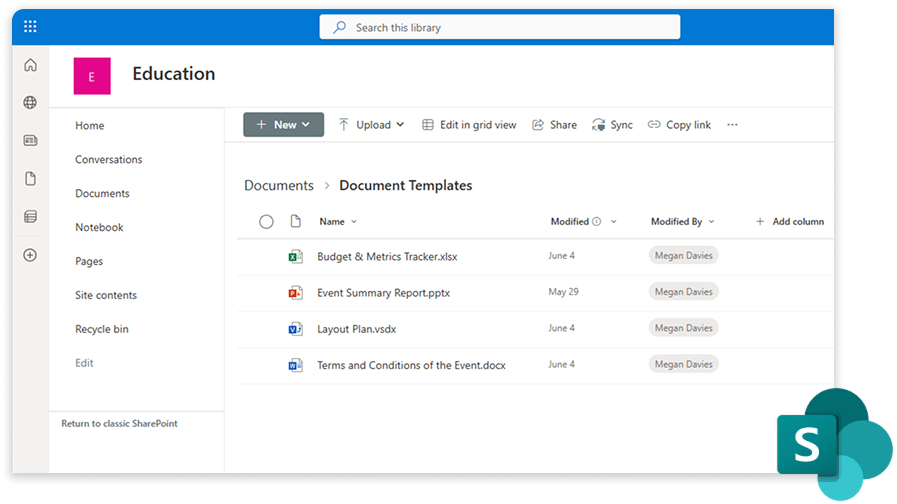
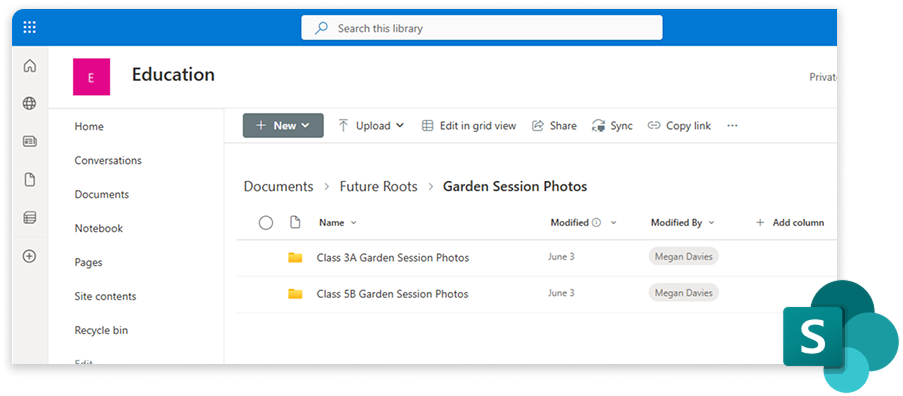
I. First, select the location for document templates. To open your space document library:
- On the Sidebar, select the Workspaces & Spaces , and navigate to your space.
- On the space top bar, select
 Documents >
  Go to source.
 - Create folder for document templates*.
* We recommend creating a folder for all your workspace document templates, or even a folder for all your company’s document templates.
II. Second, create or upload a document template file into that folder.
III. Connect the templates folder with KanBo and your space.
- On the Sidebar, select yor avatar, and then go to
 Settings >
  Document Template Sources.
 - Select + Add.
- Enter the name for the document templates source, paste the folder link, and then select Add.
- Navigate to your space.
- On the top space bar, go to More > Settings > Document Template Sources.
- Select + Add.
- Select the previously added document template source, and then select + Add selected.
Creating a card based on a card template
To create a card based on a card template:
- On the Sidebar, select the Workspaces & Spaces icon, and navigate to your space.
- Select the + icon, on a grouping field/selected date box.
- Enter the name for the card, select the card template, and then select Create card.
Now you can enter the card for editing.
Creating a card template
To create a card template:
- On the Sidebar, go to
 Workspaces & Spaces, and then select the desired space.
 - On the top space bar, go to More > Settings >
 Card Templates.
 - Select + Add.
- Enter the name for the card template, and then select Add.
- Select the newly created card template.
- Add card elements, or other card details you need in this card template.
Configuring automatic folder definition in a card template
To set automatic folder definition in a card template:
- On the Sidebar, go to Workspaces & Spaces, and then select the desired space.
- On the top space bar, go to More > Settings > Card Templates.
- Select the card template you want to edit.
- Go to + Add element > Document folder definition.
- Choose where the future folders will be created (you can add new separate folder for them). Confirm with the Select button.
- Enter the name for that card element, and then select Add.
To configure the details of automatic folder definition:
- On the previously created card element (document folder definition), go to More (the three-dots menu) > Settings.
- Here you can change the location for automatic folder definition, set the folder name prefix and suffix, or add ID number. You can also set the number of elements visible in the card preview, or allow for document templates that can be used for document creation.
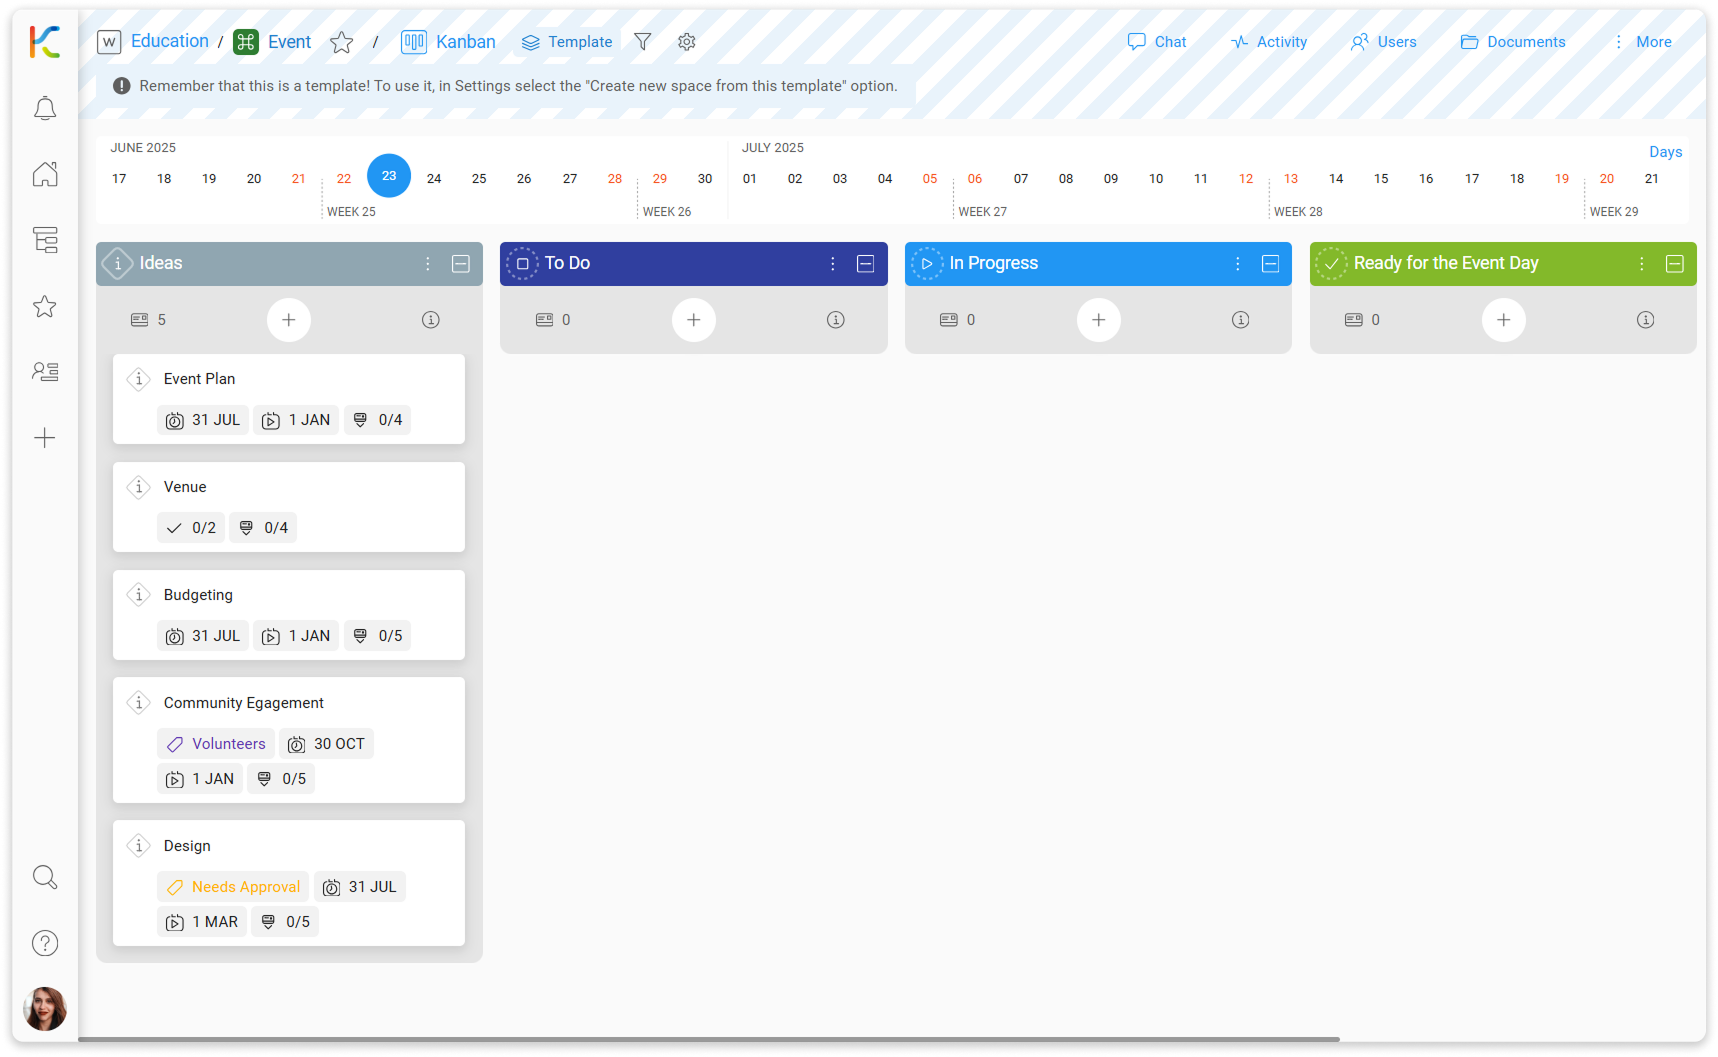
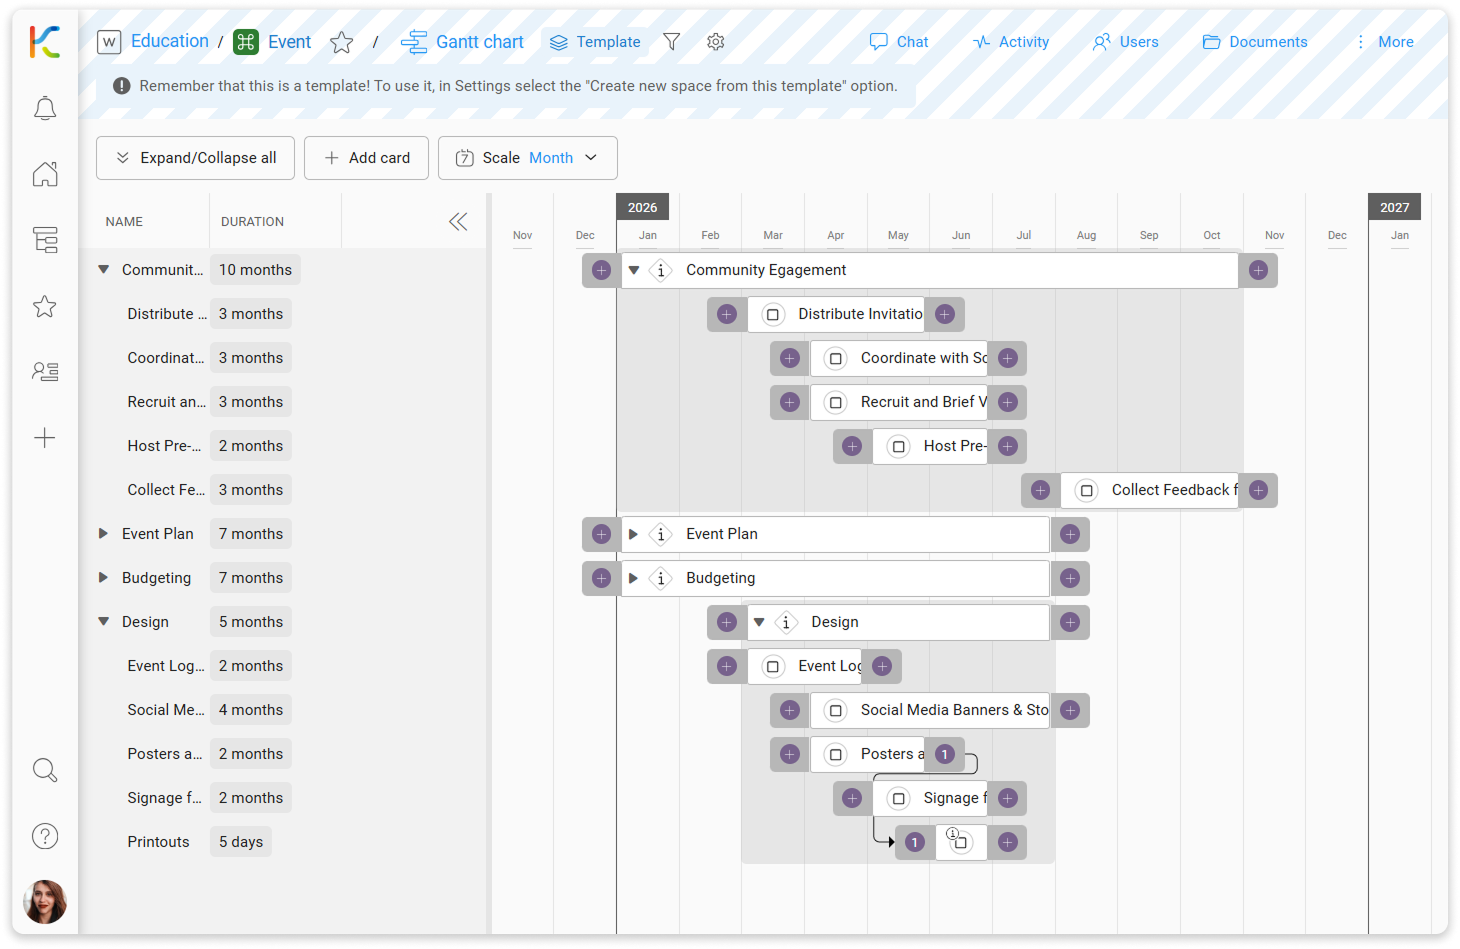
Creating a space based on a space template
To create a space based on a space template:
- On the Sidebar, select the + icon, and then select
 Space.
 - Select the Workspace, enter the space name, select the space start and due date (optional), and then select Next.
- Select the space color and avatar, and then go Next.
- Select the way of connecting space to Microsoft Teams, and then go Next.
- Select Create space from template, select the specific space template from the list, and then go Next.
- Decide if you want to adapt the file structure from the space template, and then go Next.
- Check the space review, and then select Create space.
Creating a space template
To create a space based on a space template:
- On the Sidebar, go to Workspaces & Spaces, and then select the desired workspace.
- On the Space templates section, select the + icon, and then select Add new space template.
- Enter the name for the space template, select the space template dates, and then select Next.
- Select the space template color and avatar, and then go Next.
- Select the way of connecting space to Microsoft Teams, and then go Next.
- Select Default space template, and then go Next.
- Check the space review, and then select Create space template.
- Enter the space template for configuration.
Follow the video step-by-step
Creating a document based on a document template
To create a document based on a document template:
- On the Sidebar, select the Workspaces & Spaces icon, and navigate to your space.
- Enter the card, where you want to create document.
- Select + Add element > Document > Add new document from template.
- Select the template file.
- Enter the name for your document, and then select Add.
Document will appear on card. Now you can open it for editing.
Configuring document templates
I. First, select the location for document templates. To open your space document library:
- On the Sidebar, select the Workspaces & Spaces , and navigate to your space.
- On the space top bar, select Documents > Go to source.
- Create a folder for document templates*.
* We recommend creating a folder for all your workspace document templates, or even a folder for all your company’s document templates.
II. Second, create or upload a document template file into that folder.
III. Connect the templates folder with KanBo and your space.
- On the Sidebar, select yor avatar, and then go to Settings > Document Template Sources.
- Select + Add.
- Enter the name for the document templates source, paste the folder link, and then select Add.
- Navigate to your space.
- On the top space bar, go to More > Settings > Document Template Sources.
- Select + Add.
- Select the previously added document template source, and then select + Add selected.
Creating a card based on a card template
To create a card based on a card template:
- On the Sidebar, select the Workspaces & Spaces icon, and navigate to your space.
- Select the + icon, on a grouping field/selected date box.
- Enter the name for the card, select the card template, and then select Create card.
Now you can enter the card for editing.
Creating a card template
To create a card template:
- On the Sidebar, go to Workspaces & Spaces, and then select the desired space.
- On the top space bar, go to More > Settings > Card Templates.
- Select + Add.
- Enter the name for the card template, and then select Add.
- Select the newly created card template.
- Add card elements, or other card details you need in this card template.
Configuring automatic folder definition in a card template
To set automatic folder definition in a card template:
- On the Sidebar, go to Workspaces & Spaces, and then select the desired space.
- On the top space bar, go to More > Settings > Card Templates.
- Select the card template you want to edit.
- Go to + Add element > Document folder definition.
- Choose where the future folders will be created (you can add new separate folder for them). Confirm with the Select button.
- Enter the name for that card element, and then select Add.
To configure the details of automatic folder definition:
- On the previously created card element (document folder definition), go to More (the three-dots menu) > Settings.
- Here you can change the location for automatic folder definition, set the folder name prefix and suffix, or add ID number. You can also set the number of elements visible in the card preview, or allow for document templates that can be used for document creation.
Creating a space based on a space template
To create a space based on a space template:
- On the Sidebar, select the + icon, and then select Space.
- Select the Workspace, enter the space name, select the space start and due date (optional), and then select Next.
- Select the space color and avatar, and then go Next.
- Select the way of connecting space to Microsoft Teams, and then go Next.
- Select Create space from template, select the specific space template from the list, and then go Next.
- Decide if you want to adapt the file structure from the space template, and then go Next.
- Check the space review, and then select Create space.
Creating a space template
To create a space based on a space template:
- On the Sidebar, go to Workspaces & Spaces, and then select the desired workspace.
- On the Space templates section, select the + icon, and then select Add new space template.
- Enter the name for the space template, select the space template dates, and then select Next.
- Select the space template color and avatar, and then go Next.
- Select the way of connecting space to Microsoft Teams, and then go Next.
- Select Default space template, and then go Next.
- Check the space review, and then select Create space template.
- Enter the space template for configuration.