
Follow the video step-by-step
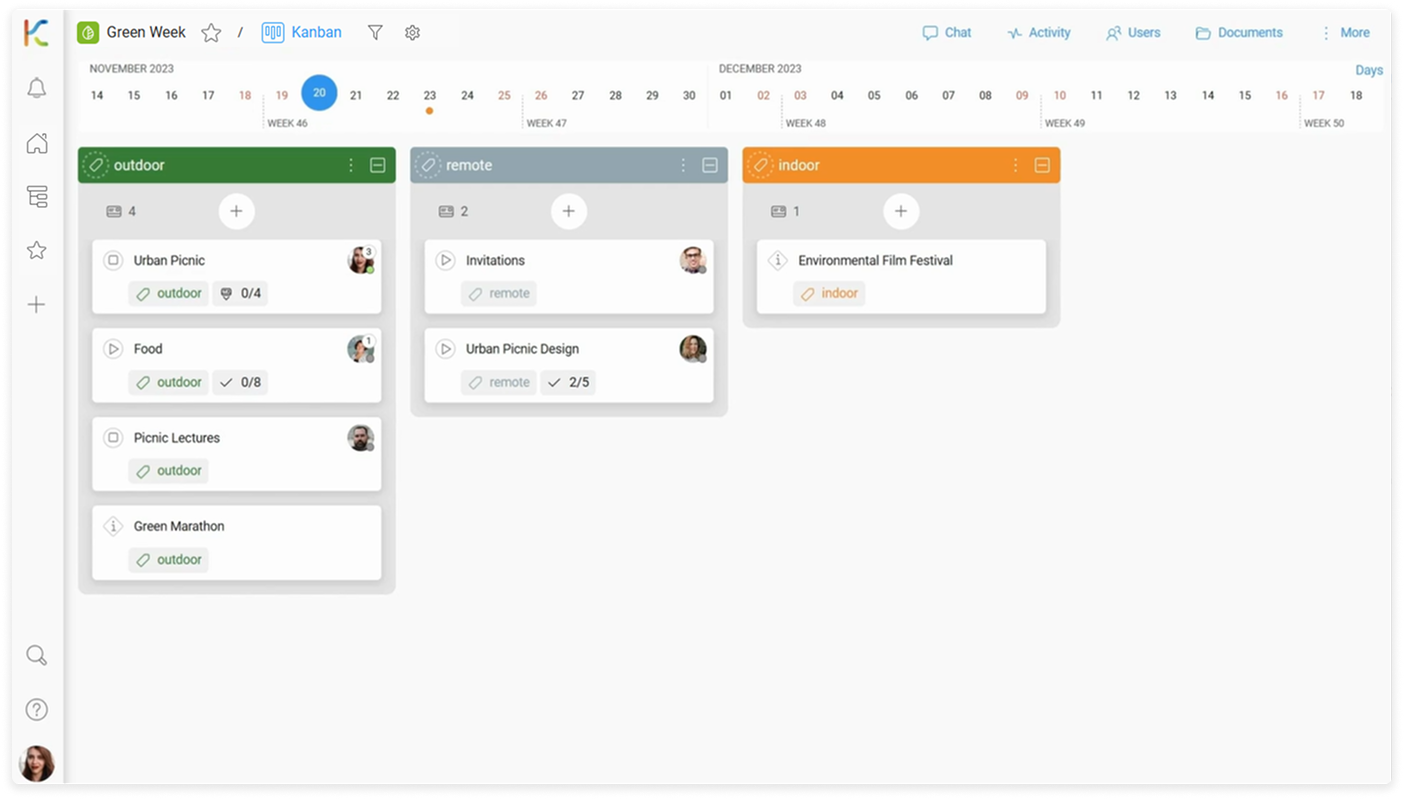
Space Views
To change the space view:
- On the top space bar, click on the current space view name, and then select different space view.
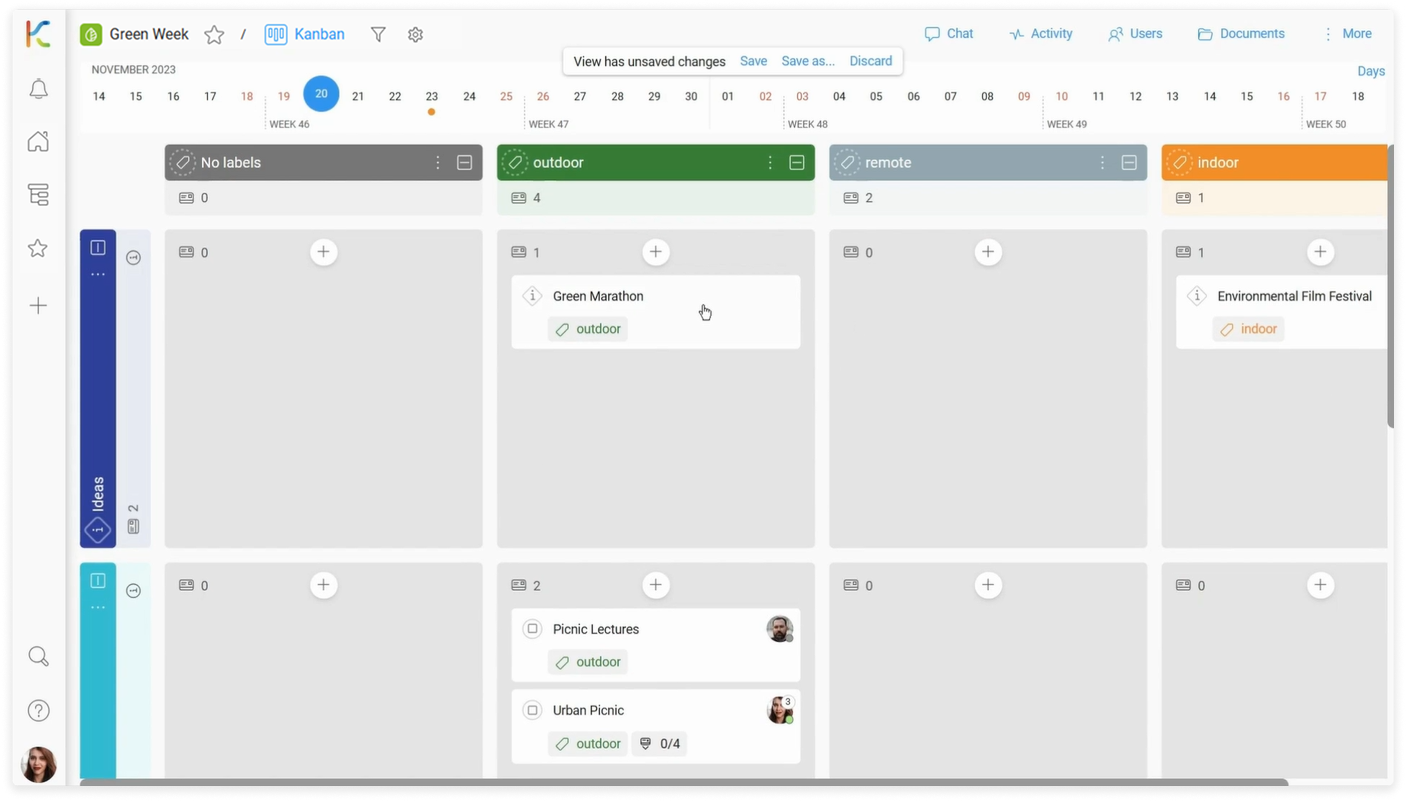
Kanban View
To add vertical grouping (Kanban Swimlanes):
- On the top space bar, go to
 Settings > Vertical grouping, and then select the way of card grouping.
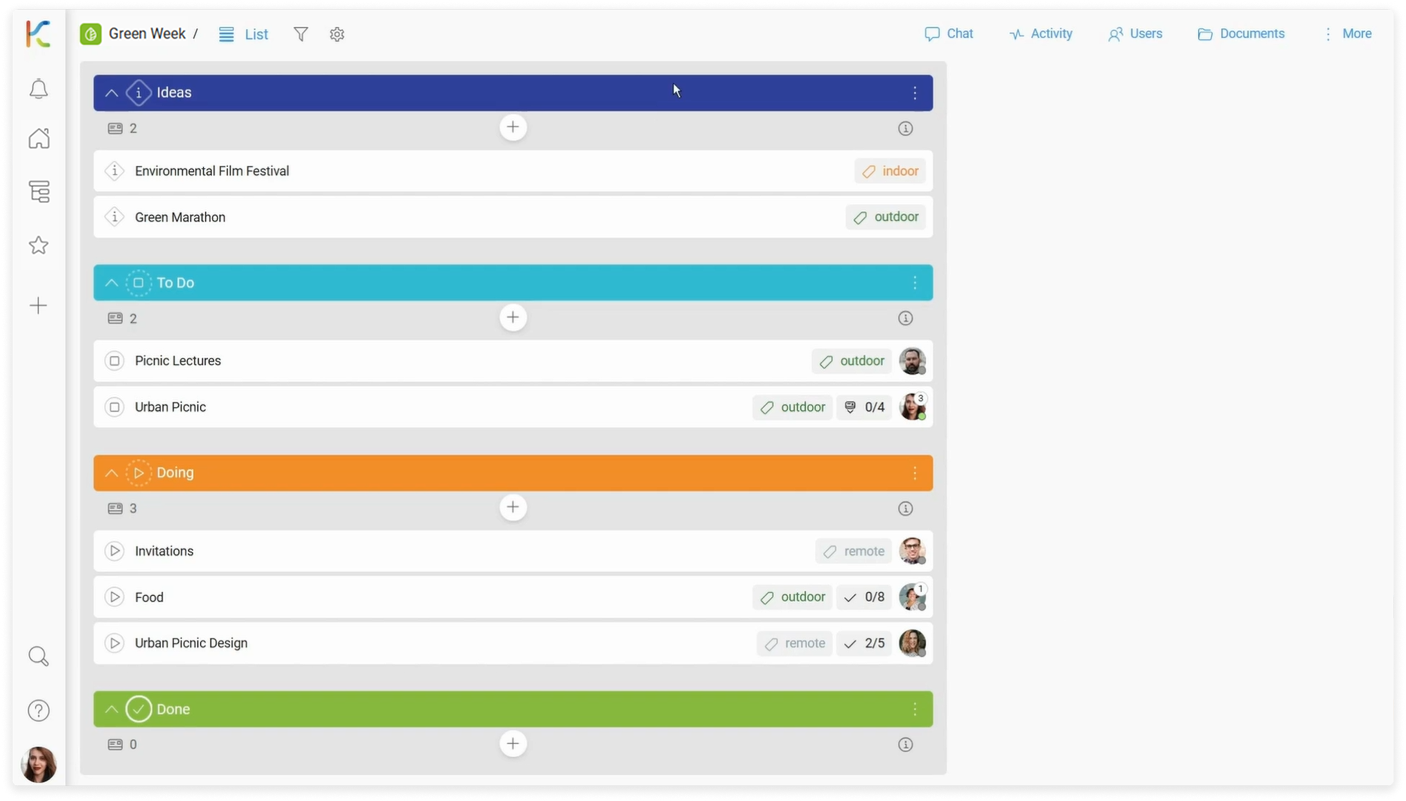
List View
To change the card status in List view:
- With cards grouped by statuses, drag a card and move it to another status grouping (as in the Kanban view).
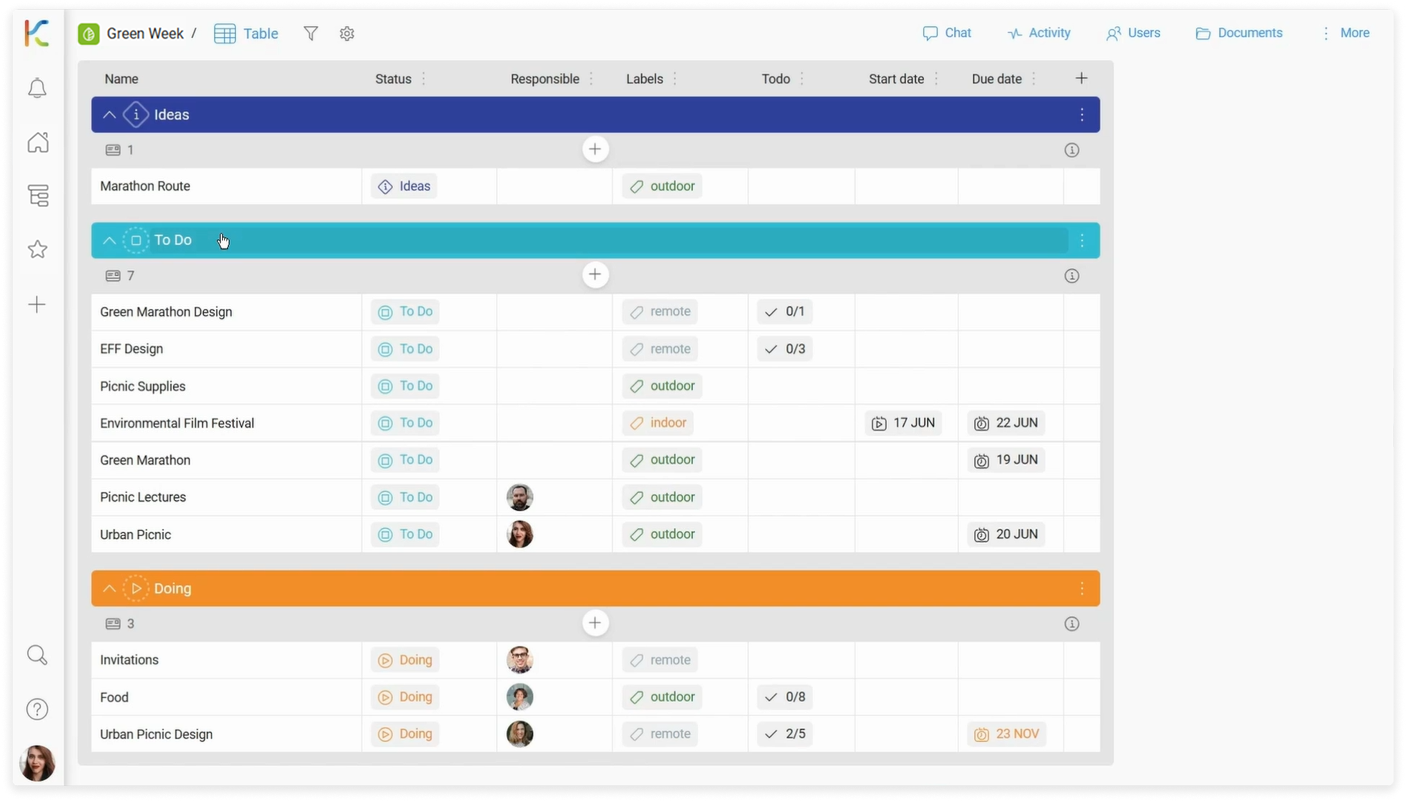
Table view
To edit card details:
- Click in the field corresponding to the card and its detail you want to edit, and then select desired option.
To add a column:
- In the upper right corner of the table, select the + button, and then select the card detail category.
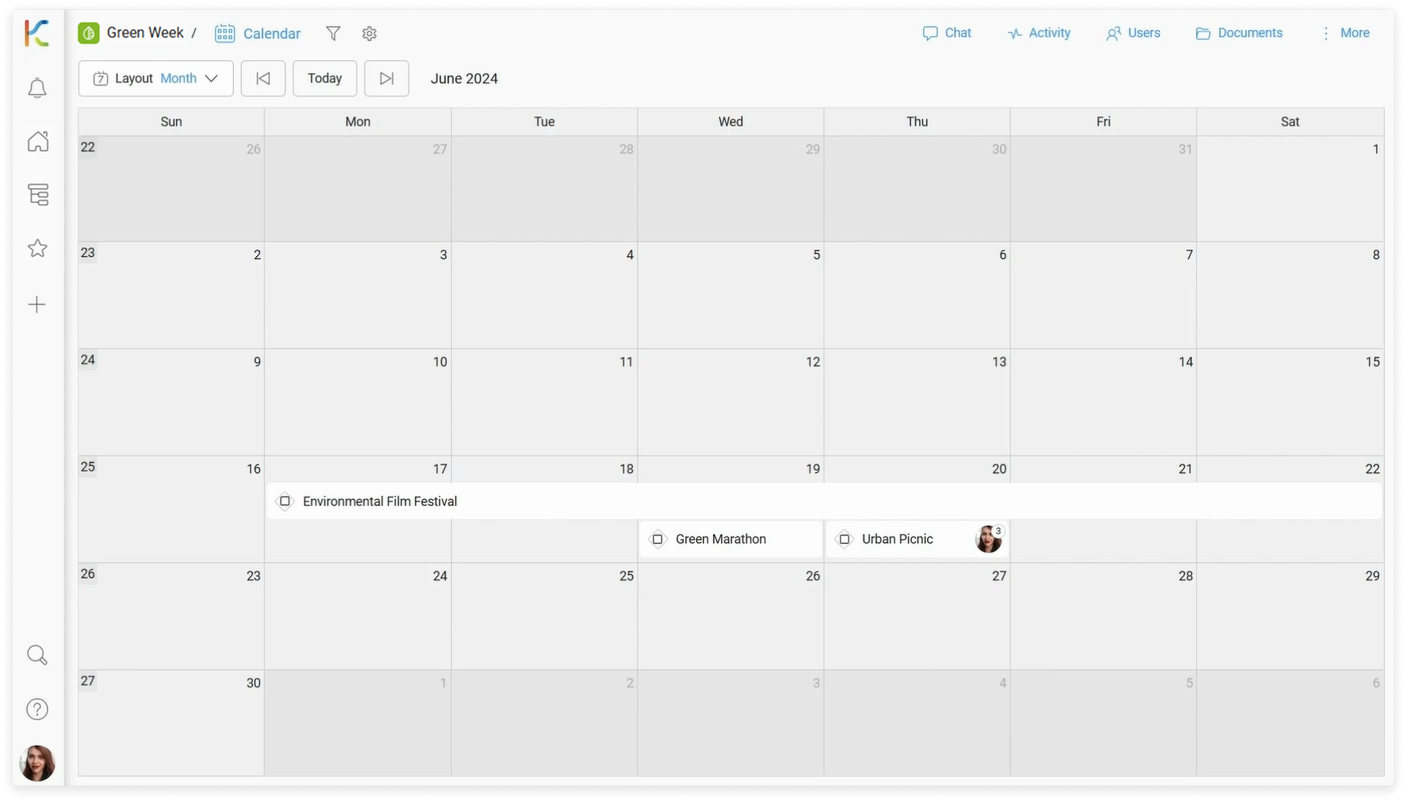
Calendar view
To schedule a card:
- Drag a card and move it to another date field.
To change the Calendar view layout:
- Go to
 Layout at the top of the space, and then select desired option.
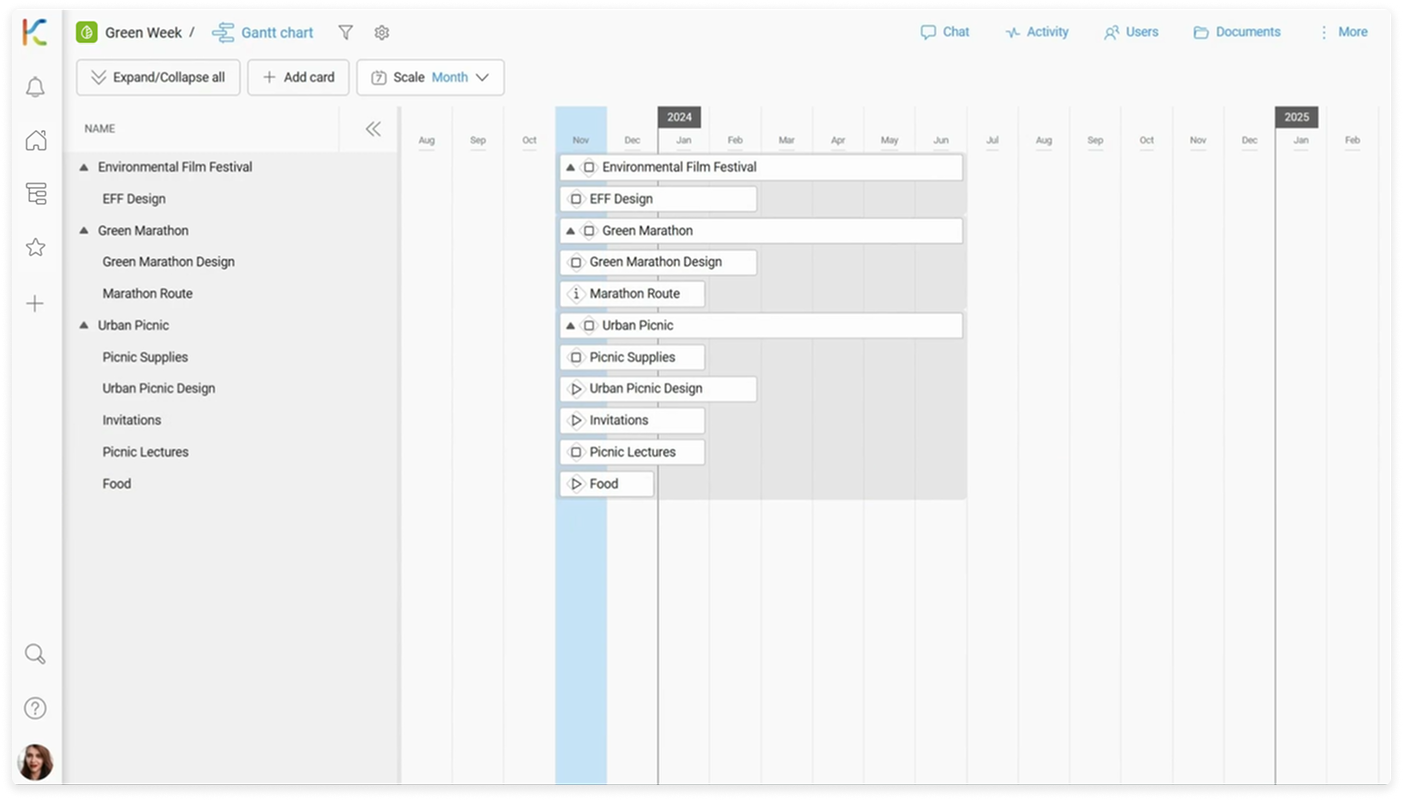
Gantt Chart view
To change the scale in Gantt Chart View:
- Go to Layout at the top of the space, and then select desired option.
To manage card dates:
- Hover over a card and drag its left/right edge to change start/due date, then move it to desired timeframe.
To add dates to subcards:
- In the card name section on the left, expand the parent card by selecting the triangle next to its name.
- Click in the desired timeframe field at the level of the subcard.
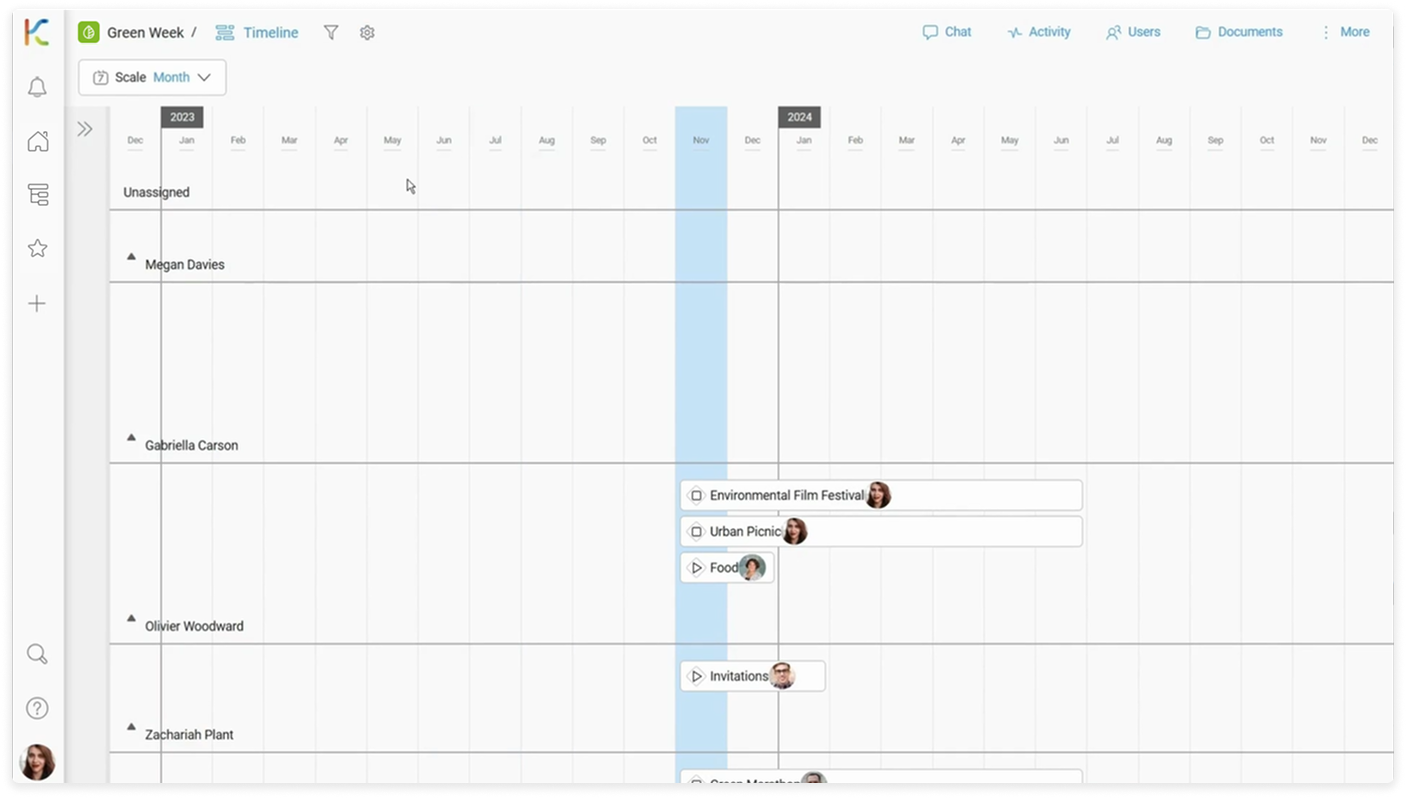
Timeline view
To hide or expand group of cards:
- On the grouping name (user name in this case), hide/expand its cards by selecting the triangle next to its name.
To manage card dates:
- Hover over a card and drag its left/right edge to change start/due date, then move it to desired timeframe.
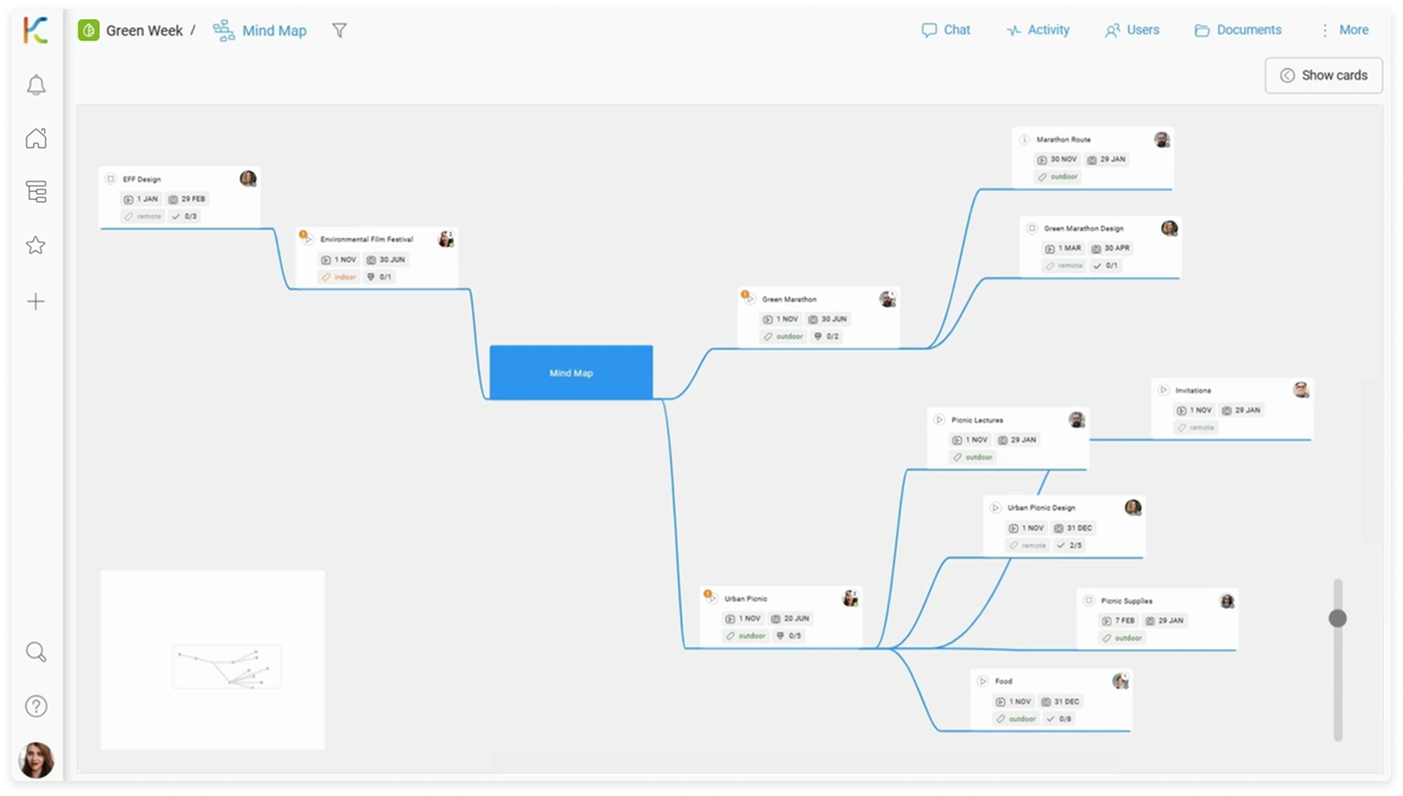
Mind Map view
To navigate the Mind Map view:
- To zoom in and out, use the slider at the bottom right side, or use the CTRL + mouse wheel. You can also use the arrow keys on your keyboard to navigate in any direction, as well as the vertical and horizontal mouse wheels if you have them on your mouse.
To add a subcard in the Mind Map View:
- Hover over the card you intend to be the parent card, and then select the + button.
- Enter the name of the card, select the initial status, and then select Create card.
To change the position of a cad in the Mind Map view:
- Drag a card and move it to desired position.
Follow the video step-by-step
Space Views
To change the space view:
- On the top space bar, click on the current space view name, and then select different space view.
Kanban View
To add vertical grouping (Kanban Swimlanes):
- On the top space bar, go to Settings > Vertical grouping, and then select the way of card grouping.
List View
To change the card status in List view:
- With cards grouped by statuses, drag a card and move it to another status grouping (as in the Kanban view).
Table view
To edit card details:
- Click in the field corresponding to the card and its detail you want to edit, and then select desired option.
To add a column:
- In the upper right corner of the table, select the + button, and then select the card detail category.
Calendar view
To schedule a card:
- Drag a card and move it to another date field.
To change the Calendar view layout:
- Go to Layout at the top of the space, and then select desired option.
Gantt Chart view
To change the scale in Gantt Chart View:
- Go to Layout at the top of the space, and then select desired option.
To manage card dates:
- Hover over a card and drag its left/right edge to change start/due date, then move it to desired timeframe.
To add dates to subcards:
- In the card name section on the left, expand the parent card by selecting the triangle next to its name.
- Click in the desired timeframe field at the level of the subcard.
Timeline view
To hide or expand group of cards:
- On the grouping name (user name in this case), hide/expand its cards by selecting the triangle next to its name.
To manage card dates:
- Hover over a card and drag its left/right edge to change start/due date, then move it to desired timeframe.
Mind Map view
To navigate the Mind Map view:
- To zoom in and out, use the slider at the bottom right side, or use the CTRL + mouse wheel. You can also use the arrow keys on your keyboard to navigate in any direction, as well as the vertical and horizontal mouse wheels if you have them on your mouse.
To add a subcard in the Mind Map View:
- Hover over the card you intend to be the parent card, and then select the + button.
- Enter the name of the card, select the initial status, and then select Create card.
To change the position of a cad in the Mind Map view:
- Drag a card and move it to desired position.